

How to Paint a Monochromatic Portrait: A Step-by-Step Guide
Hey everyone! Today, I'm excited to walk you through a step-by-step process of painting a monochromatic watercolor portrait using indigo blue. Let's dive right in!
This blog post contains affiliate links, which means I may earn a small commission at no additional cost to you if you make a purchase through these links. Your support helps me continue to provide free content for you.
Special Giveaway Announcement!
To celebrate this video, I'm hosting a giveaway! You can win the original painting featured. To participate, subscribe to my YouTube channel and leave a comment on the video. I'll choose the most creative and thoughtful comment as the winner. This is my way of giving back to my amazing community.
WATCH VIDEO & ENTER CONTEST: YouTube Channel
Materials You'll Need:
Various brushes (including a mop brush and liner brush)
Two jars of water
Pencil and eraser
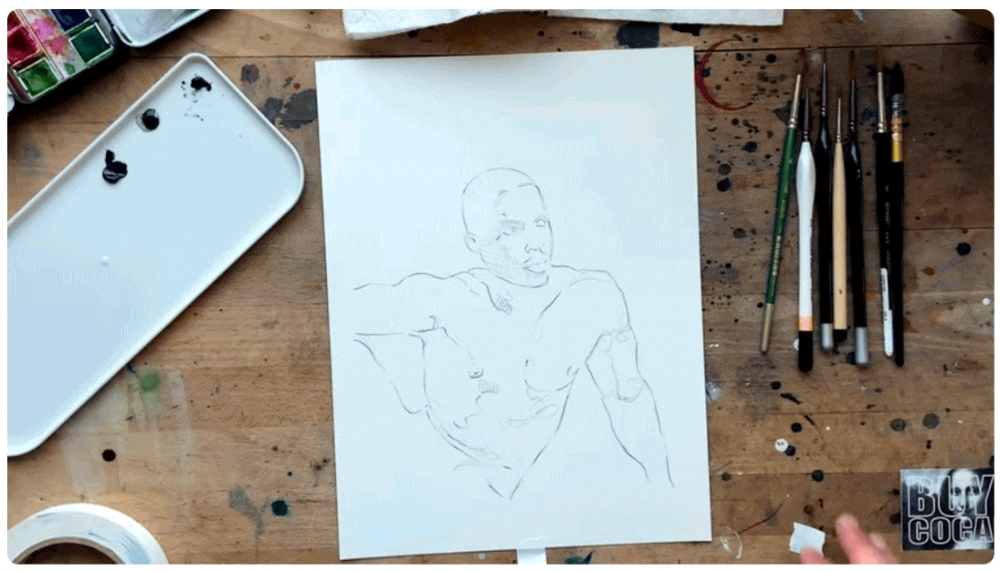
Step 1: Sketching the Image
I started with a light pencil sketch of a photo I took years ago. I made the pencil marks darker than usual so they show up on the video. Some watercolorists prefer lighter marks, but I like the contemporary feel of visible pencil lines.
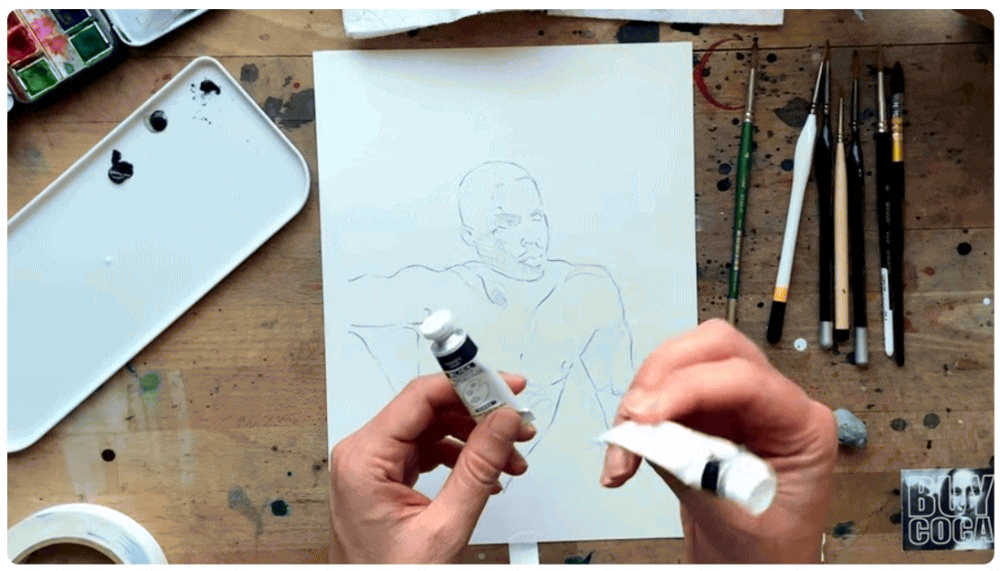
Step 2: Preparing the Paint
I'm using tube paint, and today, I've chosen indigo blue. It's a rich, dark color that I love, but it can dominate your palette, so use it sparingly. Other good choices for monochromatic paintings include ultramarine or turquoise.
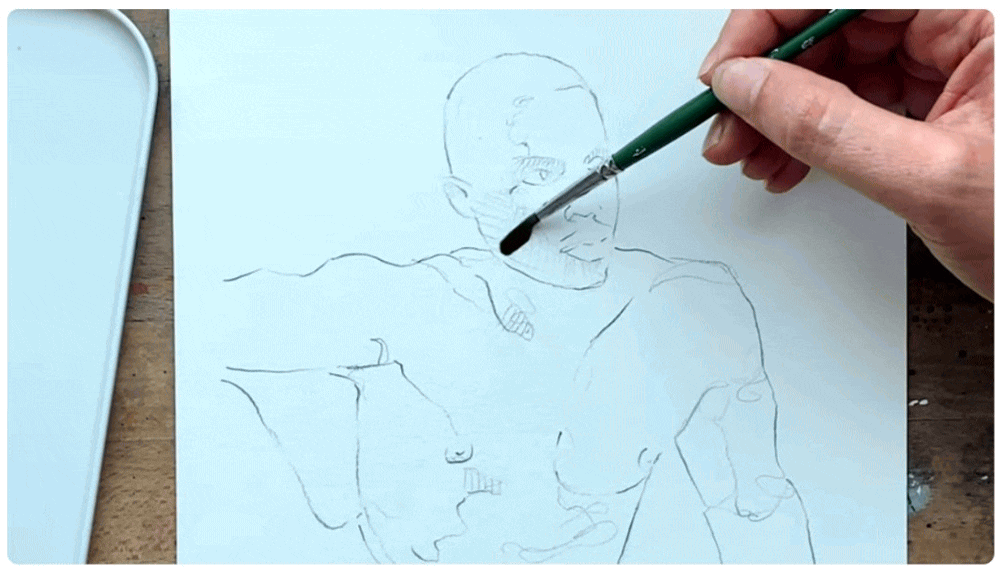
Step 3: Initial Wash
Begin by wetting the paper lightly and applying a wash of indigo. I prefer not to paint directly from the tube, but for today, I’m making an exception. I start with a light wash over the eye area and gradually build up layers.
Step 4: Building Layers
Add more pigment to your brush and layer it over the initial wash. I’m a bit unconventional with my technique and like to see where the paint takes me. I enjoy the blooms—those organic, flowing marks that happen when you let the water and pigment interact naturally. They add a unique touch to the piece.
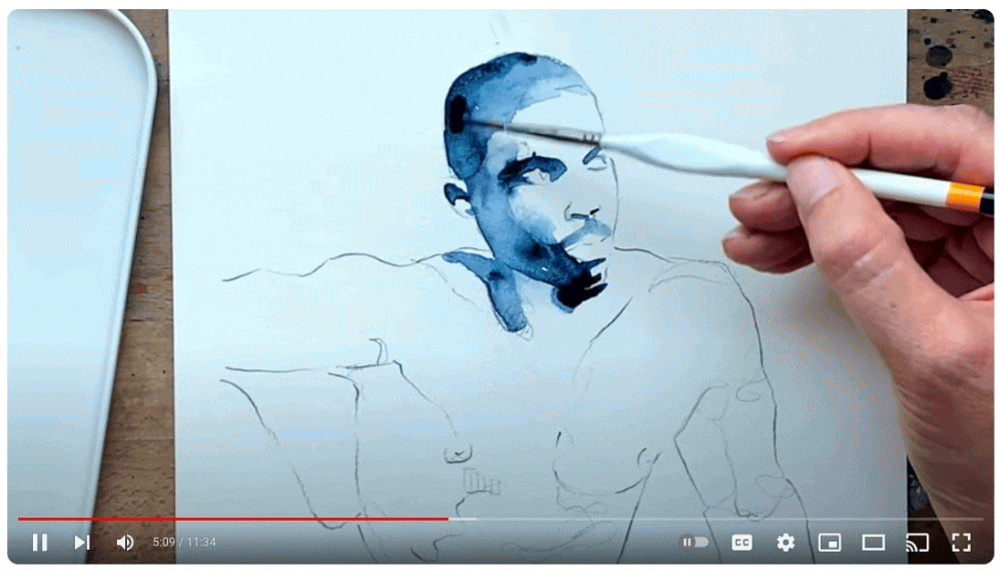
Step 5: Adding Detail
Use a liner brush for finer details. Focus on the eyes, as they are crucial in telling the story of the portrait. The eyes are often the focal point in my work, setting the mood and expression of the entire piece. Allow the painting to dry between layers to build depth without disrupting the earlier strokes.
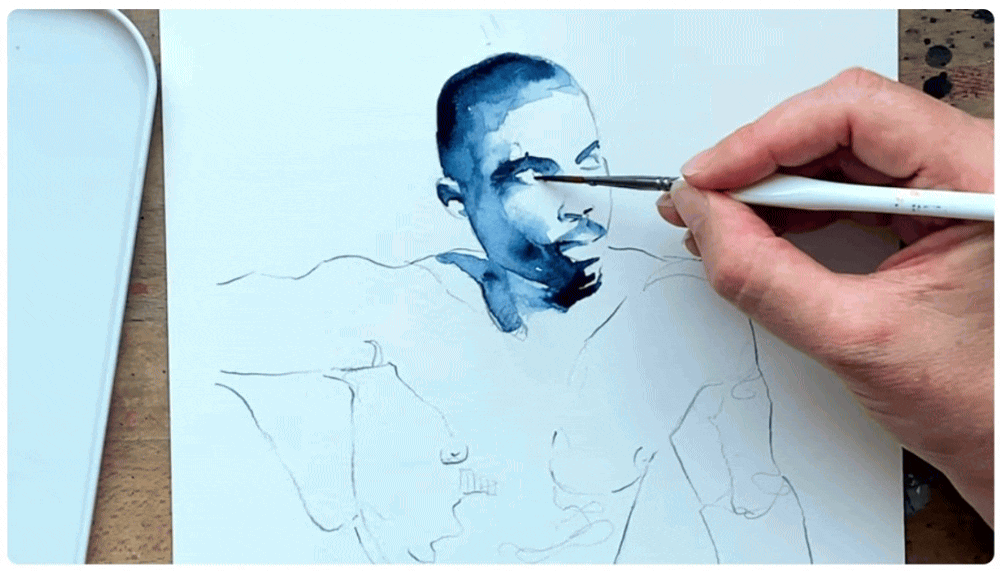
Step 6: Refining Shadows and Highlights
Now, I switch to my smallest mop brush. I use it to enhance shadows and bring more depth to the painting. This brush is fantastic for softening edges and blending areas smoothly. Don’t be afraid to use heavier pigment in the shadows to create contrast.
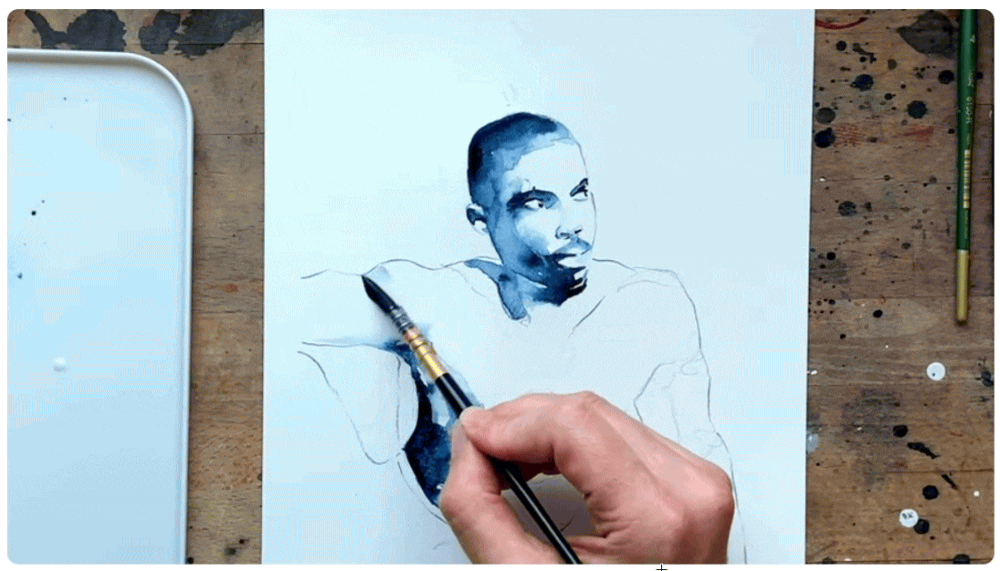
Step 7: Final Touches
Finish by adding dry brush effects and adjusting any final details. For the background, I like to pull some of the blue from the subject into the surrounding space, letting some areas remain untouched. This creates a dynamic interplay between the figure and the background, enhancing the overall composition.

Tips for Success:
Embrace Spontaneity: Don’t worry too much about following rules strictly. Art is about expression and experimentation.
Know Your Tools: Familiarize yourself with your materials; knowing your paper and brushes helps you predict how they’ll behave.
Be Patient: Let the layers dry properly to build rich, luminous depths in your painting.
Experiment with Techniques: Try different brush strokes and water-to-paint ratios to see what effects you can create.
Creating a monochromatic watercolor portrait is a great way to focus on value and technique without the complexity of multiple colors. I hope you found this guide helpful. For a detailed walkthrough, don’t forget to watch my YouTube tutorial.
Happy painting!